Easy DIY Salt Dough Decorations for Easter Celebrations
For a fun and creative Easter playdate, why not try making salt dough ornaments? This simple and quick craft is perfect for children and adults alike, and the results are both beautiful and long-lasting.
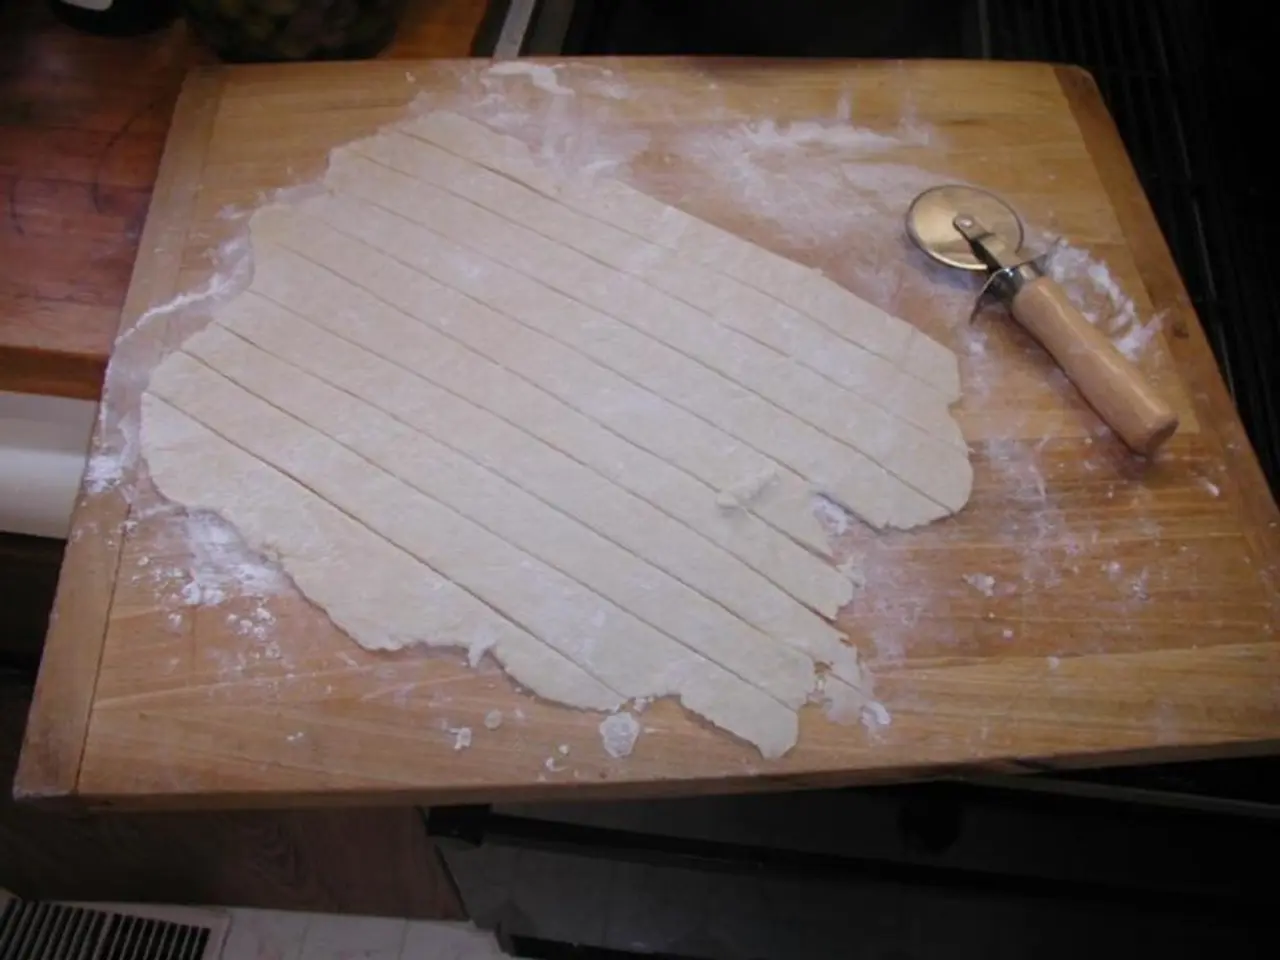
To get started, mix 1 cup of flour, 1/2 cup of salt, and about 1/2 cup of water until a firm dough forms. Using your hands is the easiest method for mixing the dough. Once you have the desired consistency, shape the dough into your desired ornaments.
When it comes to drying the ornaments, using a microwave can speed up the process significantly. Place the shaped ornaments on a microwave-safe plate and microwave on medium power in short bursts (e.g., 30 seconds), checking frequently to avoid burning, until they are dry and hard. This method can take less time compared to oven or air drying, which can take hours or days. However, be aware that microwaved salt dough ornaments can become very hot to the touch, so caution is advised.
After drying, you can decorate your ornaments with paint. Using triangle-handle paint brushes—which provide good grip and control for small hands—is ideal to apply paint neatly and encourage fine motor skills during the playdate. These brushes were kindly sent by craftprojectideas.com.
Additional tips: - If you prefer to bake your salt dough ornaments traditionally, they are often cooked in an oven at around 200-300°F (90-150°C) for about 1 hour, then left to dry at room temperature for 24 hours for best hardness and durability. - After painting, you can seal the ornaments with Mod Podge, shellac, or leave them plain to protect and add shine. - Triangle-handle brushes have ergonomic shapes for children, making painting easier and more comfortable.
With these simple steps, you can create festive Easter ornaments efficiently. So gather your supplies and get ready for a fun and creative playdate!


