Instructions for Crafting a Pocket Door
Installing a Pocket Door in a Home Renovation Project
A pocket door has been installed in a newly-purchased home, transforming the open space into two separate areas for potential Airbnb rentals. Here's a step-by-step guide on how the installation was carried out.
Tools and Materials Needed:
- Tape measure, pencil, level
- Screwdriver, drill
- Saw (for cutting header and possibly drywall)
- Stud finder
- Utility knife
- Drywall tape and joint compound (mud)
- Sandpaper
- Paint and paintbrush/roller
- Pocket door kit (includes frame, track, rollers, door slab)
- Safety gear (gloves, eye protection)
Step-by-Step Installation Process:
- Remove Existing Molding and Trim
- The existing door casing and any baseboards or trim around the doorway were carefully removed using a pry bar or screwdriver.
- Prepare the Rough Opening
- Studs around the opening were checked using a stud finder, and some may have been removed to create space for the door to slide into the wall cavity.
- A new header was installed above the door frame to support the wall and door frame system.
- Install the Pocket Door Frame Kit
- The metal or wooden pocket frame was assembled inside the wall cavity according to the kit instructions and securely fastened to the floor, ceiling, and adjacent studs.
- The top track was mounted inside the header, ensuring it was level and properly secured.
- Hang the Door on the Track
- Rollers were attached to the top of the door, and it was lifted into the track, ensuring it slid smoothly into the wall pocket.
- Roller screws were adjusted for smooth operation and proper door height.
- Drywall Work
- Drywall patches were applied over the open wall cavity, and all seams were taped using paper or mesh tape.
- Joint compound was applied smoothly over the seams and screw holes, and the area was sanded and repeated as necessary for a smooth finish.
- Apply Texture
- The new drywall patches were primed with drywall primer before texturing was applied to match the existing wall finish.
- Painting
- The entire wall was painted to match the existing wall color.
- Once the painting was complete, new door trim or molding was installed.
Additional Tips:
- Confirm door size before ordering the kit to ensure proper fit in the opening.
- Working with existing walls requires careful framing and drywall finishing to integrate the pocket door seamlessly.
- Adjust bump stops and rollers after hanging the door to control slam and smooth operation.
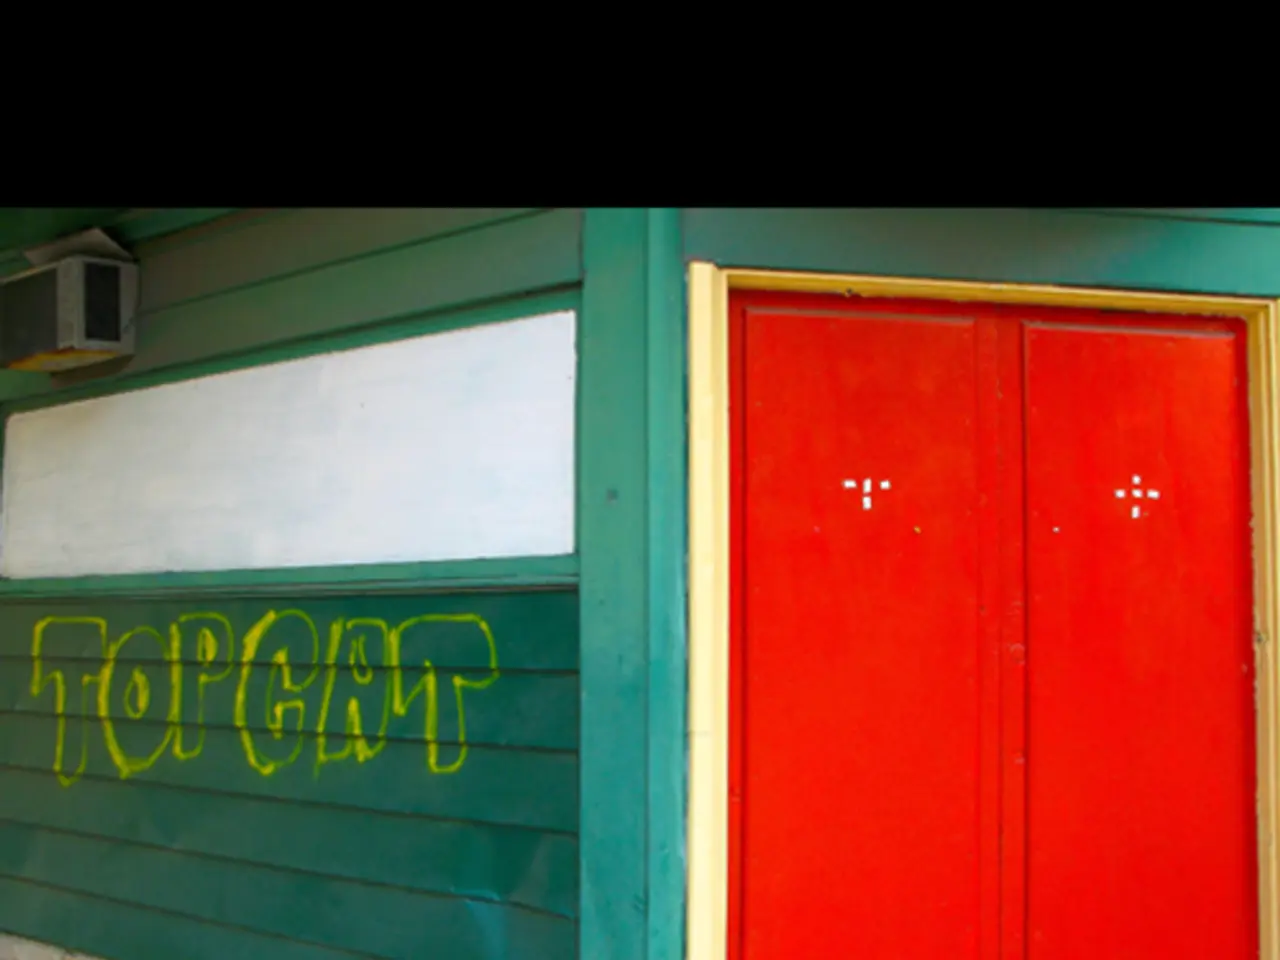
The pocket door installation was not the most enjoyable project, but it has significantly improved the functionality of the home. The new house, which spans 1900 square feet, has two front doors and what appears to be two living rooms. It naturally divides itself almost equally, with one side containing one bedroom, one bathroom, and a living room, and the other side containing two bedrooms, one bathroom, a living room, and a kitchen.
The pocket door kit, including necessary tools, was purchased for less than $150, and a separate door was bought from Habitat Re-Store for $25 to fit into the pocket door kit. A painted white line was added to the wall as a temporary solution for missing molding. The texture spray used for texturing the drywall was a specific brand. The first step in installing a pocket door is to pry off the existing molding with a pry bar and hammer.
Overall, the pocket door installation has been a valuable addition to the home, helping to create separate spaces for potential Airbnb rentals. The homeowner, while not finding the project particularly enjoyable, recognizes its benefits and is satisfied with the outcome.
The pocket door installation, part of the home renovation project, was a substantial contributor to the transformation of the open space into separate areas for potential Airbnb rentals. The installation process involved using a pocket door kit to hang the door on a track within the wall cavity, along with home-improvement tasks such as drywall work and painting, which are also common in home-and-garden projects.


