Unveiled: Airlie Beach Artwork of August 2020
Catching up on some long-overdue On the Easel posts! I've got a fresh oil painting of Airlie Beach to share, created in August and a few more since then.
My bro and dad and I made a trip to Airlie Beach, a stunning Whitsundays spot that was surprisingly accessible despite all the travel restrictions. The weather was picture-perfect - glassy turquoise waters, snowy white sands, and not a whiff of clouds in the sky. Sadly, we didn't get much solo painting time on the beach itself, but photos and memories had to do for this piece. This was also my first time painting on Ampersand gessoboard, and now it's my go-to painting surface.
Here's the finished painting, along with some notes and progress shots. Let's dive in!
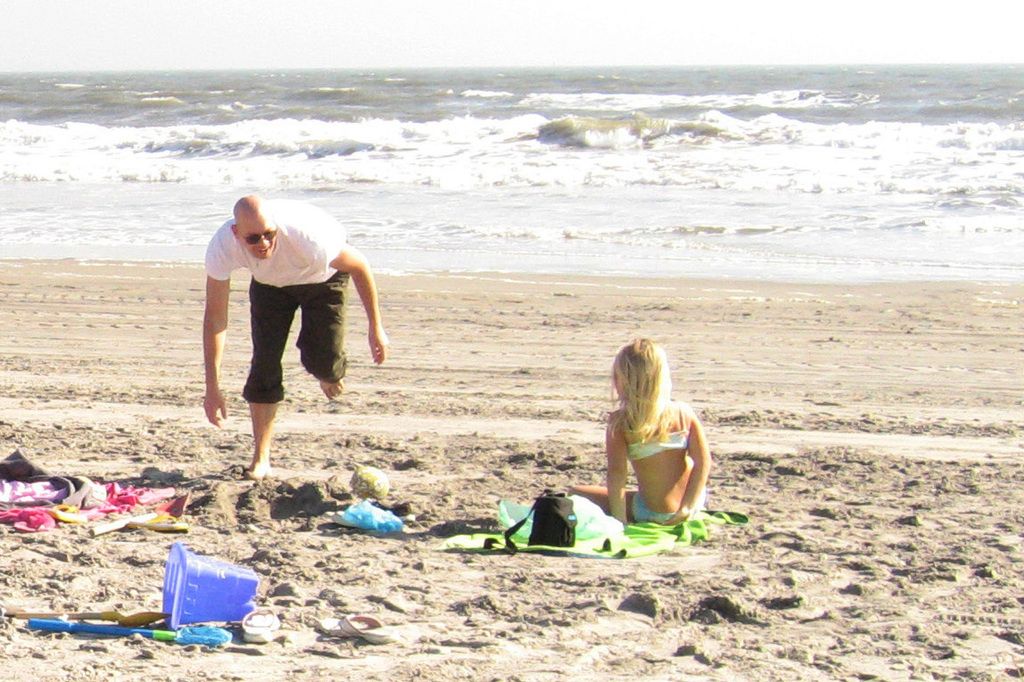
Reference Photo
Photos can be deceptive – they can't capture color exactly as we see it. This high-contrast scene was a perfect example. The shadows were buried in the darkness, colors lost, and there was some annoying glare in the top left corner. When painting from a photo, it's crucial to take all this into account.
Details
- Oil on Ampersand Gessoboard. 12 x 16 inches.
- Main colors: Ultramarine blue, cobalt blue, alizarin crimson, cadmium red, cadmium yellow deep, cadmium yellow, viridian green, titanium white.
Want more on the supplies I use? Check out my supplies list for all the deets.
Notes
- I painted from the reference photo, my memory of the scene, and this color study (5 x 7 inches). It seems I rarely approach a large studio painting without at least one small study in the works.
- I opted for a segmented approach, painting one segment at a time until it was nearly complete, then moving on to the next. The problem with this method is the final product can appear disjointed, like a collection of well-painted parts rather than a cohesive whole. But I think I pulled it off here.
- I went straight for the white gessoboard surface with this one, rather than applying a thin stain of color like I usually do. No big reason for it – it just felt right at the time.
- When it came to the shadows, I diverged from the reference photo and leaned more on my memory of the scene. Cameras struggle capturing color in shadows, so I often find myself relying on my recollection.
- I experimented with a variety of techniques for this piece. For those dappled lights, I wiped away paint with a solvent-soaked paper towel. For those bright colors, I used a palette knife to add some impasto strokes of color. For those dark trees in the top left corner, I laid down thin washes of color, then lifted some of the paint with a paper towel and a loose hand.
- I used quick bursts of color to depict the activity on the beach, focusing on capturing the impression rather than the exact form. I drew inspiration from the Russian impressionists for this.
Progress Shots
Additional Resources
- More "On the Easel" Posts
- More Landscape Posts
- Supply List
- Landscape Starter Kit
- Painting Academy
Thanks for Reading!
Cheers for reading this post! If you're keen to learn more painting tips, check out my Painting Academy course.
Happy painting!
Dan Scott
Draw Paint Academy
Dan Scott is the brains behind Draw Paint Academy. He's a self-taught artist from Australia with a passion for landscape painting. Draw Paint Academy is run by Dan and his wife, Chontele, with the goal of helping you make the most of your art journey. Learn more on the About page.
Enjoyed this post? Join over 100,000 artists who subscribe to the Draw Paint Academy newsletter.
This oil painting was my first attempt on Ampersand gessoboard, and now it's my preferred surface for home-and-garden landscape paintings.
The finished painting, with its vibrant colors and captivating details, perfectly encapsulates the lifestyle associated with serene home-and-garden and home-and-garden landscape painting scenes.


